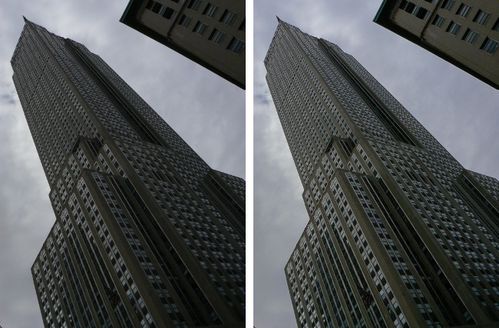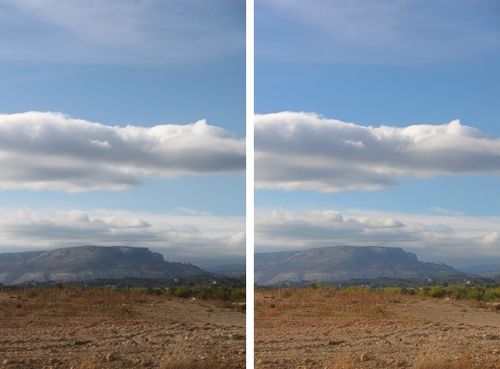
Depending on the image, the process can be quite complicated, and itis based on the identification of zones with very different lighting levels, a "local development" of each area and a composition (zone mapping) that produces a credible merging of all areas.
The result is, in many cases, too artificial, due to the forced processing of some areas. In case of colour pictures, this effect can be too visible - but this might be the desired output, as an artistic expression.
To perform this complex process you may find specific applications or plug-ins for most usual photo editors.
But there is a simple alternative, that might be enough in many cases to recall information from burned or dark areas in your pictures: the "fake" HDR... its main advantage is its simplicity; it can be done with most edition programs with basic layer handling...
Work with GIMP
Open your picture. Preliminarily, any picture can do, but you will see a stronger effect in images with high contrast, to begin with. In the layers auxiliary window, duplicate the layer (right click on the miniature, then "Duplicate layer..."). You will see two miniatures now, one per layer.
On the top layer (set it to active, it will be high-lighted in blue), choose the command "Image - colors - desaturate". GIMP will show a black and white image of your original picture, based on illumination levels (well, in fact, on the distance of each point colour to the pure white, but that's another history...). Here you get the basic lighting information of your picture.
Next step is to invert this top layer, by choosing "Image - Invert". Obviously, you will see an inverted version of your image. You will not see the original one, since you are working on the top layer.
Then, apply a slight blur. This is an option, but it helps in softening contours in the final image. Go to "Filters - Blur... - Gaussian blur..." and select a small radius - not more than 3 to 5 points.
Layers fusion...
Now to the critical step, you will mix this layer with the lower one. What you want is to use the lighting information on the above layer to modify the lower one. So that bright areas in top (remember, inverted mage: those were dark areas in bottom) will brighten a bit in the final image, and dark areas in top will darken the burned areas of the original image.
To do so, you have to choose "Lighten only", which basically does what I described above.

Next step will be to flatten the two layers into one, in order to save the picture as JPG file, for example. You can do this again with a right click on the miniature, in the layers' window.
Notes...
If your image has a lot of colour, result may look unreal. You may graduate the effect of this technique my lowering the opacity of the top layer, prior to flattening.
You can apply some curves adjustment, too, to recover some of the contrast that you will probably loose with this process. Try a soft "S" shape adjustment.
Anyway, it is important to remark that this process is useful only if the source image still keeps some image information in burned or dark areas - if those areas are pure white or black, you will just get some dull grey areas...
Originally posted on Mar 7th 2012 (Over-Blog)
More posts on GIMP...


No hay comentarios:
Publicar un comentario